

Kids Space Paint Colors | Interior Gallery
Today’s kids’ spaces blend function, comfort and style. Veering slightly from the usual pinks and blues, hues extend to soft purples, greens, blues, browns and other natural colors, as well as neutrals balanced by bright colors or black-and-white accents. One must-have is a soft carpet, ideally with imaginative animal, nature or geometric patterns. Of course, kids grow up fast, so perhaps opt for a theme that can be adjusted over time.
ORDER PAINT SAMPLES
Let us bring our colors to you! It only takes a few minutes to get color chips, color cards or a paint sample or two delivered straight to you.
PHOTO GALLERY
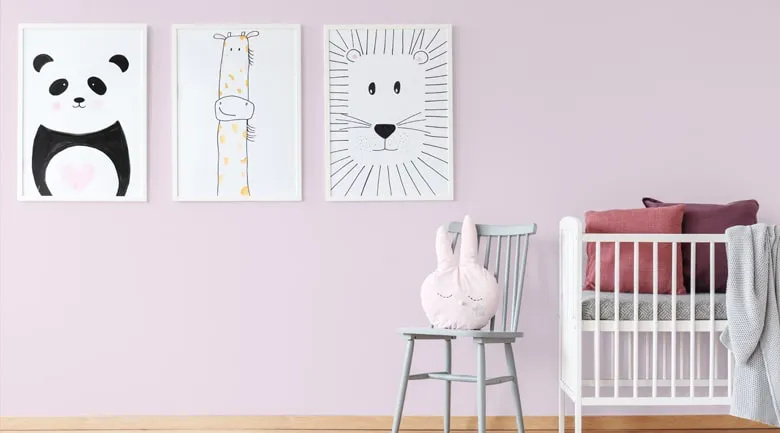
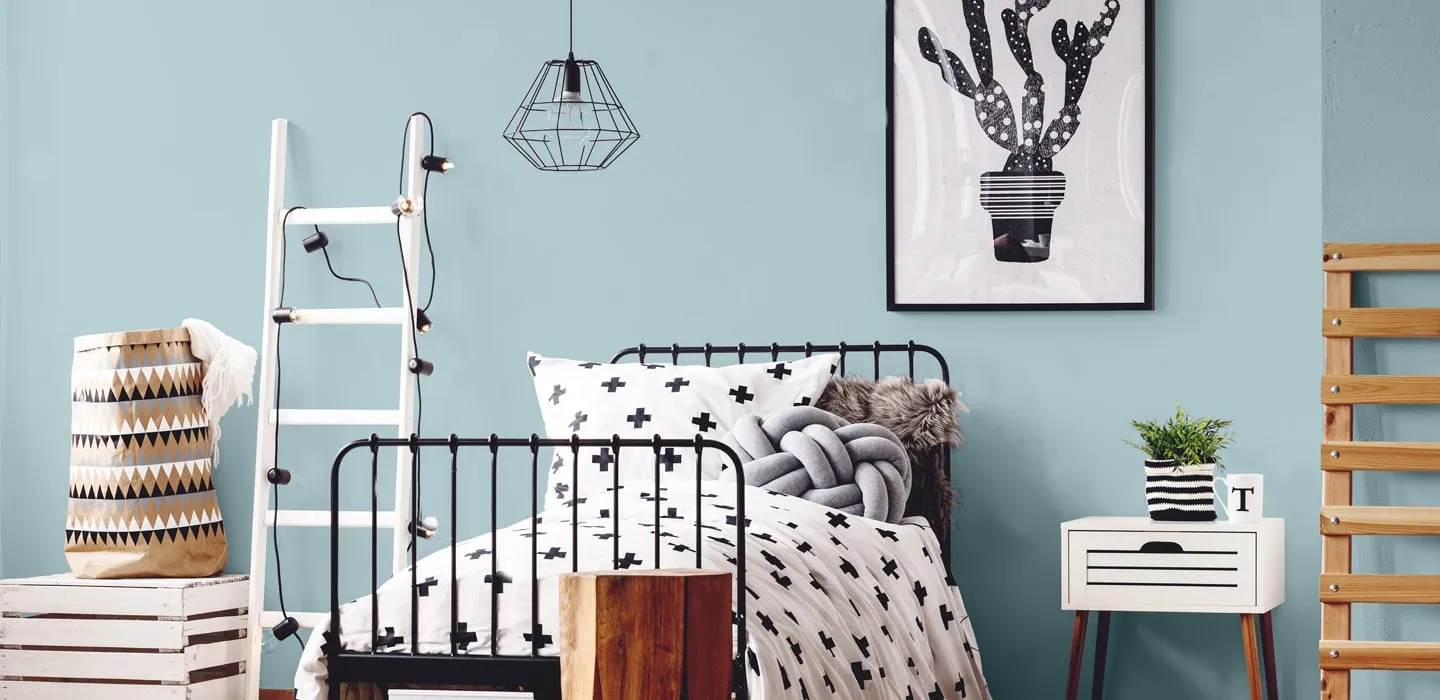
SCANDINAVIAN
Wall: Soft Lilac (DE5974)
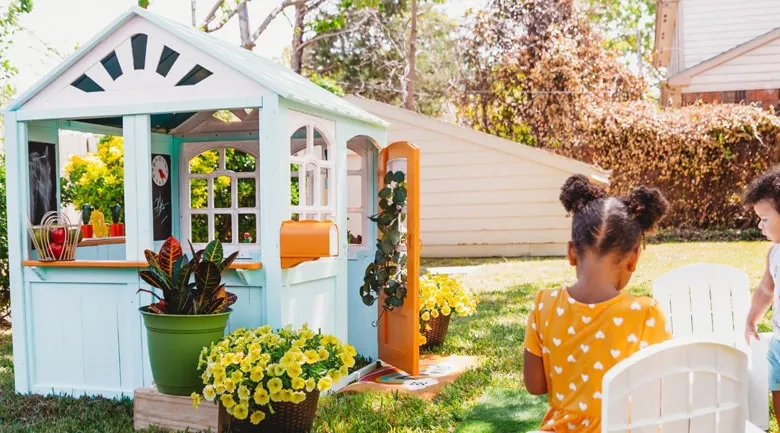
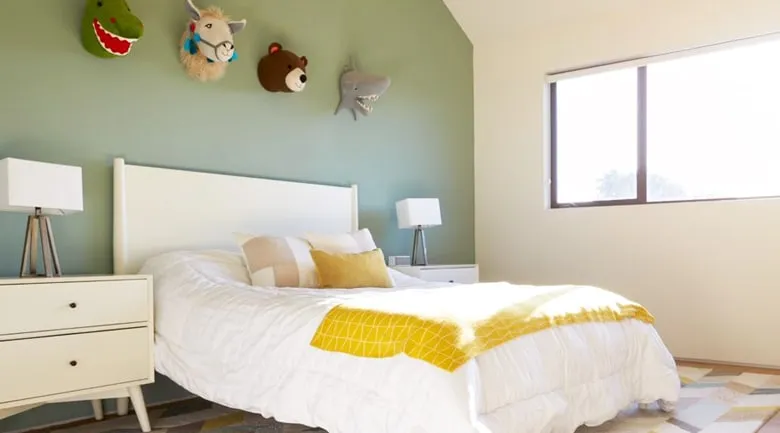
Craftsman
Wall: Minty Fresh (DE5687)
Accent: Bittersweet (DET462), Just Pink Enough (DE5091), Blue Moon (DE5764)
Credit: Alessandra at @livin.mivida.ale
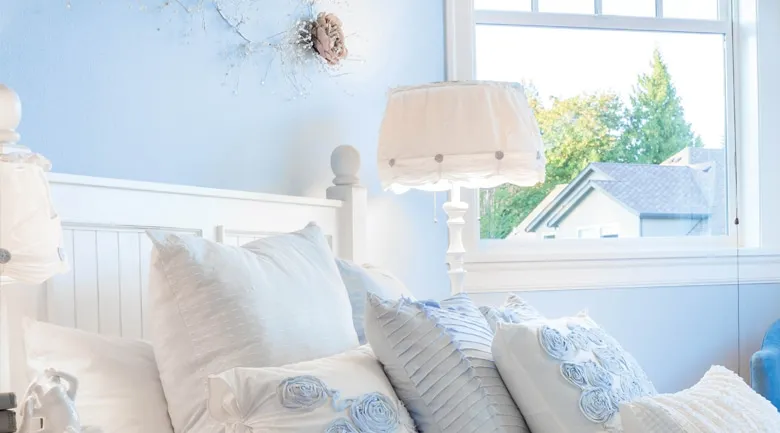
Shabby Chic
Wall: Wild Blue Yonder (DE5855)
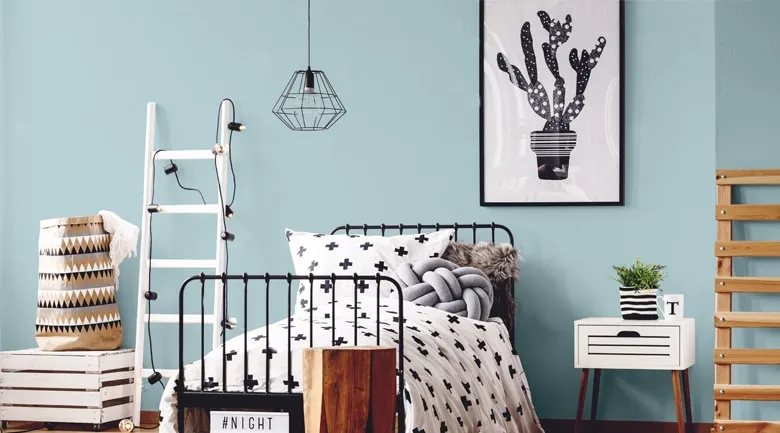
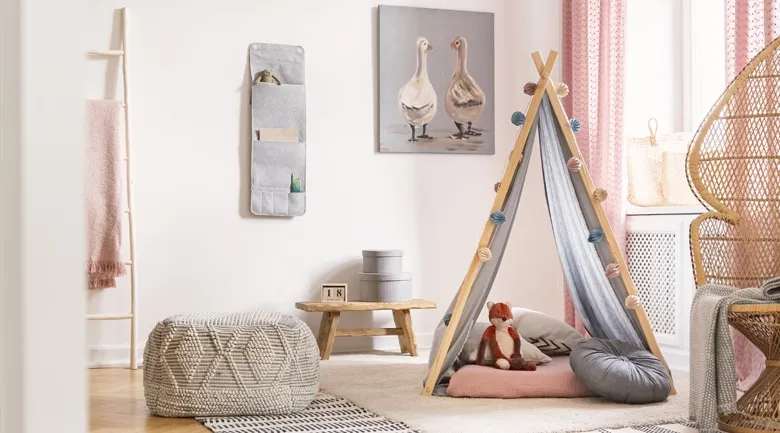
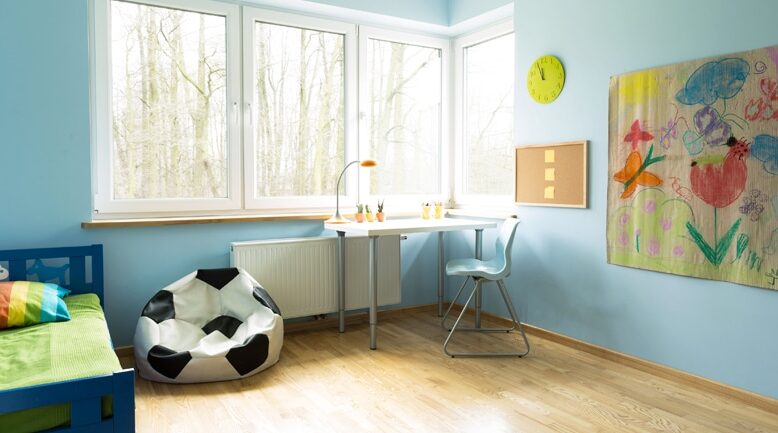
BOHEMIAN
Wall: Blue Spruce (DE5772)
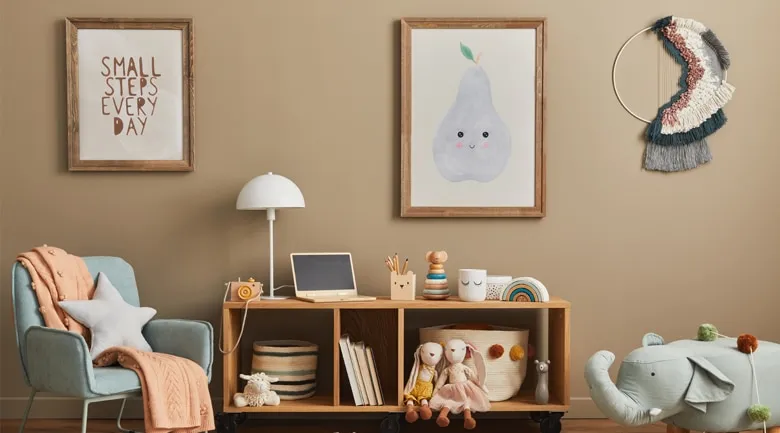
Mid Century Modern
Wall: Finest Silk (DE6127)
Accent: Woodland Park (DE5537)
MOROCCAN
Wall: Sentimental Pink (DEW399)
Trim: Cascading White (DEW394)
Transitional
Wall: Desert Gray (DEC760)
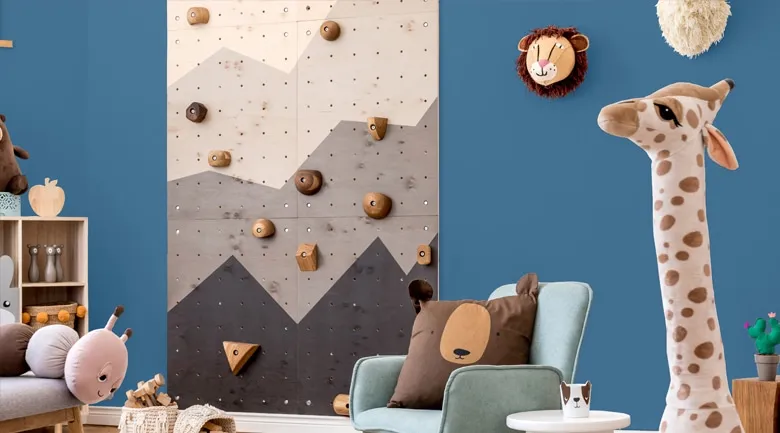
Industrial
Wall: Big Sur Blue Jade (DET577)
Color Palette
Minty Fresh | DE5687
Bittersweet | DET462
Just Pink Enough | DE5091
Wild Blue Yonder | DE5855
Blue Spruce | DE5772
Finest Silk | DE6127
Woodland Walk | DE5537
Sentimental Pink | DEW399
Cascading White | DEW394
Desert Gray | DEC760
Big Sur Blue Jade | DET577
Peaceful Pastures | DE5661
Featured Product
Gloss Recommendations
| Velvet | |
|---|---|
| Bedroom | |
| Ceiling | |
| Classrooms | |
| Family Room | |
| Hallways | |
| Kid's Room | |
| Kitchen & Bath | |
| Offices |